
Designing and building a DIY 29-gallon aquarium stand requires careful planning and proper construction techniques. We will provide you with a step-by-step guide on how to create a sturdy and functional stand for your aquarium.
From selecting the right materials to assembling the pieces together, we will cover all the essential aspects to help you successfully complete your DIY project. So let’s dive in and learn how to create a beautiful and reliable stand for your 29-gallon aquarium.
Table of Contents
Planning The Project
When planning your 29-gallon aquarium stand DIY project, consider the size and weight of the tank to ensure stability. Take precise measurements, choose sturdy materials, and design a stand that complements your home décor while providing a secure base for your aquarium.
Planning the Project
Choosing the right design is crucial for your 29 gallon aquarium stand DIY project. Consider factors such as stability, aesthetics, and functionality. Look for designs that provide ample support and ensure the safety of your aquarium. Take into account the location of the stand and the weight distribution of the tank.
Determining the necessary materials and tools is the next step. Make a list of items you will need, including lumber, screws, brackets, and a power drill. Take accurate measurements of your tank to ensure a proper fit and calculate the required amount of materials.

Credit: www.pinterest.com
Preparation
Before you begin building your 29-gallon aquarium stand, it’s important to properly prepare your work area. Start by clearing a space in your garage or outdoor area where you have enough room to work comfortably. Make sure the surface is clean and level, and remove any debris that could obstruct your work.
Next, gather all the necessary materials for your stand, including plywood, 2×4 boards, wood screws, and a power saw. Measure the dimensions of your aquarium and determine the desired height of your stand. Using a power saw, carefully cut the plywood and 2×4 boards according to your measurements.
Once all the materials are cut, you can begin assembling your stand. Place the plywood pieces on a flat surface and attach the 2×4 boards to the corners and sides using wood screws. Ensure that everything is aligned and secure before moving on to the next step.
By setting up your work area and measuring and cutting the materials ahead of time, you’ll be well-prepared to construct your 29-gallon aquarium stand.
Assembling The Stand
Assembling the stand for your 29-gallon DIY aquarium is a straightforward process that can be easily accomplished with these simple steps. With clear instructions and minimal tools required, you’ll have a sturdy and functional stand in no time.
| Building the Frame | Attaching the Panels |
| Construct the frame using sturdy wood pieces. | Secure the panels with screws for stability. |
| Ensure each corner is aligned perfectly. | Double-check the alignment before tightening. |
| Use a level to confirm the frame’s balance. | Smooth any rough edges for a polished look. |
Reinforcement And Finishing Touches
Adding Braces for Stability: To ensure the strength and stability of the 29 gallon aquarium stand, reinforce the structure with additional braces. Secure these braces with screws and wood glue for added support.
Sanding and Painting: Prior to painting, sand the entire surface of the stand to create a smooth finish. Apply primer and then paint the stand with a durable and water-resistant paint to protect it from moisture and ensure a polished appearance. Regular maintenance involving cleaning and repainting will help maintain the stand’s longevity.
Final Steps
Before securing the aquarium, ensure the stand is level. Use a level to check for stability in all directions. Once confirmed, place the aquarium on the stand. If the stand has a shelf, consider reinforcing it with additional support. Use anchor straps or brackets to secure the aquarium to the stand. This will prevent any accidental tipping or shifting. Regularly inspect the stand and its connections to ensure ongoing stability. Take care to avoid any potential hazards such as pets or curious children. Safety should always be a top priority when setting up and maintaining your aquarium.

Credit: www.amazon.com
Maintenance Tips
Regular Inspections: Check tank and stand for cracks or leaks weekly.
Cleaning and Upkeep: Vacuum gravel monthly to remove waste and debris.
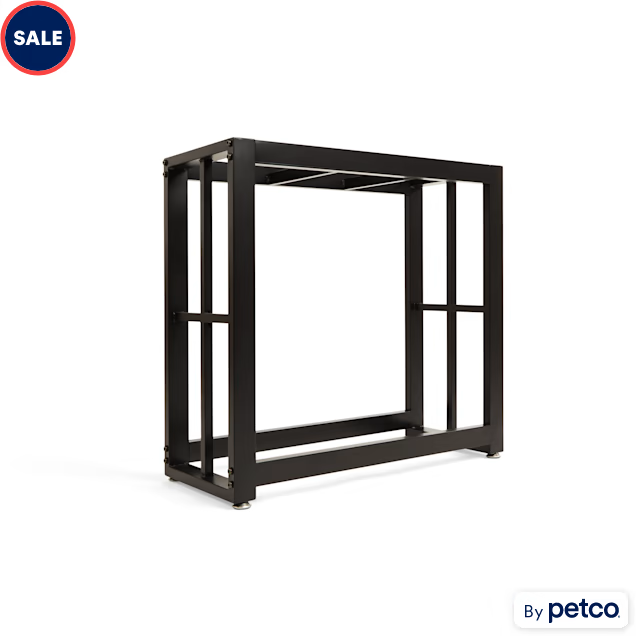
Credit: www.petco.com
Frequently Asked Questions For 29 Gallon Aquarium Stand Diy
How Do I Build A 29 Gallon Aquarium Stand On My Own?
To build a DIY 29 gallon aquarium stand, gather the necessary materials, measure and cut the wood to size, assemble the frame, and reinforce it for stability. Finally, add a finished touch to match your décor.
What Are The Benefits Of A Diy Aquarium Stand?
Building your own 29 gallon aquarium stand allows you to customize the design, ensuring it fits your tank perfectly while saving money compared to pre-made stands. It also provides a sense of accomplishment and satisfaction.
How Can I Ensure The Stability And Safety Of The Diy Stand?
To ensure stability and safety, reinforce the joints using wood glue and screws, ensure the stand is level on the ground, and add protective pads to prevent damage to the floor and stabilize the tank.
What Materials Do I Need To Build A Diy 29 Gallon Aquarium Stand?
You’ll need plywood, pine boards, wood screws, wood glue, a saw, drill, measuring tape, and sandpaper. These materials will allow you to construct a sturdy and reliable aquarium stand.
Conclusion
In crafting a DIY stand for your 29-gallon aquarium, creativity knows no bounds. Embrace the joy of building while providing a sturdy foundation for your aquatic oasis. Remember to tailor your stand to suit your space and style, ensuring a perfect fit.
Dive into your project and make a splash!